
We're on summer break right now, enjoying time with family and preparing for an exciting new school year. Our history lessons this year will be focusing on American History, so in keeping with that theme and the holiday weekend, here is a tutorial for a craft project that children can make at home, written by one of our teachers.
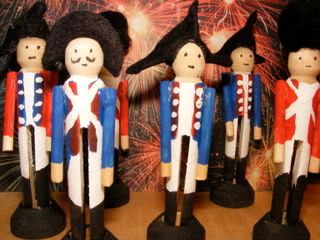
Revolutionary War Toy Soldiers
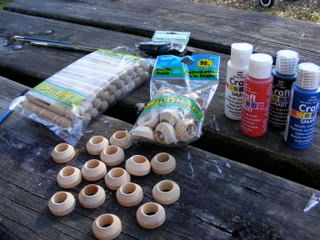
Supplies:
One package of "Doll Pins", clothes pins sold at the craft store for the purpose of making dolls (the regular clothes pins we had were too thin for the bases)
One package of Doll Pin Stands, sold next to the doll pins at the craft store
Non-Toxic acrylic paint in dark blue, red, white, and black
Two 3/16-inch dowels cut into 1 1/2- inch pieces (I was able to do that with a pair of scissors)
strong, clear-drying glue
small paint brushes
black wool felt and black 1-inch pom poms for the hats
black permanent marker, for the faces
1. Glue the clothes pin into the wooden base, so it can stand up on its own.
2. Using the white paint, paint around the clothes pin, from the bottom of the "neck" to half-way down the "legs". This will be the shirt and pants.Let the paint dry before proceeding to step 3.
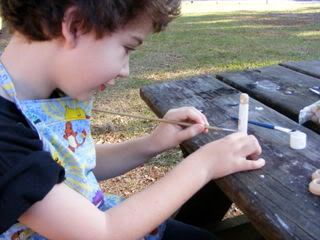
3. Using the black paint, cover the base and half-way up the "leg", until the black touches the white paint, leaving no bare wood showing on the "legs". This will be the boots. I painted the boots a little taller on the half of the clothes pins that will be British soldiers and made them more rounded at the top.
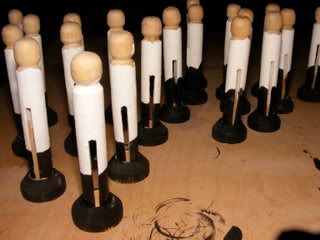
4. Paint on the jackets.
In our set there will be 10 British soldiers with red jackets and 10 American soldiers with blue jackets.
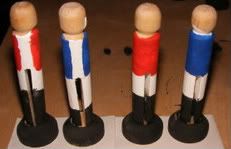
I painted the jackets on straight across the back first and then went back and added the points on each side of the back to make the "swallow tails" that were the fashion at the time.
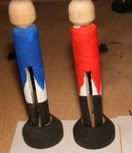
5. Add any decorative touches to the uniforms.
We added lapels of contrasting color and white buttons to some. Others got crossed white straps.
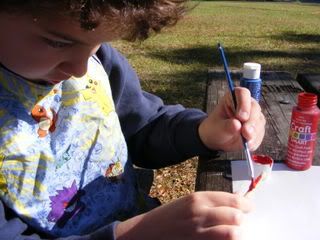
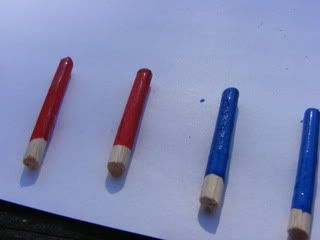
6. For the arms, sand any rough pieces off the ends of the 1 1/2 inch dowel pieces and paint two for each soldier, leaving the tip you are holding bare. The unpainted tip will be the hand. After the arm is dry, glue it to the body and let it dry over night.
7. The hats can be a variety of shapes. The easiest for the British soldiers is just a 1-inch black pom pom glued to the top of the head. The tri-corner hat is a small triangle of black felt. The other hats are made with a small circle of felt that is folded over and glued together.
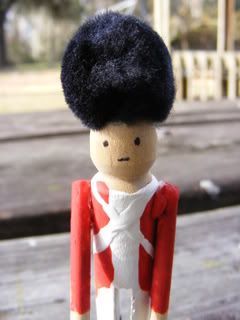
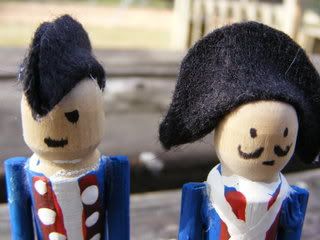
8. Draw eyes and mouth with a permanent marker.
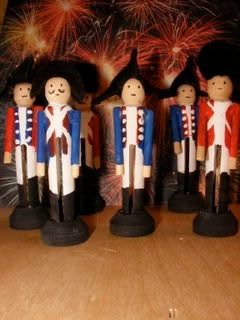
Ready to march:

No comments:
Post a Comment